


A broken or unresponsive screen is one of the most frequent issues with cellphones. Nowadays, a lot of users choose to deal with the problem on their own rather than getting professional help right away. DIY mobile phone screen replacement is growing in popularity due to the ease of access to tools and parts and the popularity of internet guides. Although this method can result in cost savings, it necessitates patience, careful attention to detail, and the use of appropriate repair methods.
Understanding the Basics
Before starting a DIY phone screen replacement, it is important to understand how modern smartphones are built. Most devices have tightly sealed designs with fragile display panels connected through delicate cables. The screen is often attached with strong adhesive, making removal a careful process rather than a simple task. Knowing the structure of your specific phone model can help avoid unnecessary damage.
Tools You Will Need
A successful screen replacement depends heavily on using proper tools. Basic tools include a precision screwdriver set, plastic opening tools, and a suction cup. These help in safely opening the device without damaging its outer body. A heat source, such as a heat gun or heating pad, is also used to soften the adhesive that holds the screen in place. Tweezers and a clean workspace further improve accuracy during the repair process.
Removing the Damaged Screen
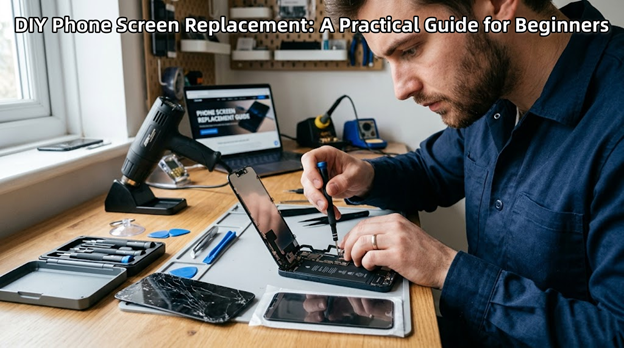
The first step in DIY phone screen replacement is powering off the device completely. Once the phone is off, gentle heat is applied around the edges of the screen to loosen the adhesive. Using a suction cup and opening tools, the screen is slowly lifted. This step requires patience, as rushing can crack the glass further or damage internal components.
After lifting the screen, the internal connectors must be carefully disconnected. These connectors link the display to the motherboard and are highly sensitive. Handling them with care is essential to avoid additional repairs.
Installing the New Screen
Once the old screen is removed, the new display can be installed. Before securing it permanently, it is important to connect the screen and test it. This ensures that the display, touch functionality, and brightness are working correctly. If everything functions properly, adhesive can be applied, and the screen can be placed firmly back into position.
Proper alignment is important during installation. A poorly aligned screen can affect the phone’s appearance and usability. Taking time to position the screen correctly leads to better results.
Common Challenges to Watch Out For
DIY repairs are not without risks. One common issue is damaging internal cables during removal. Another challenge is applying too much heat, which can harm nearby components. Dust or fingerprints trapped under the screen can also affect the final result.
Beginners may also struggle with reassembly, especially if screws or parts are not properly organized. Keeping track of all components throughout the process helps avoid confusion later.
Benefits of DIY Screen Replacement
One of the main advantages of DIY phone screen replacement is cost savings. Professional repairs can be expensive, especially for newer smartphone models. By doing it yourself, you only need to pay for the replacement part and tools.
Additionally, DIY repairs provide valuable learning experience. As you gain confidence, you may be able to handle more complex repairs in the future.
When to Seek Professional Help
While DIY repair is a good option for many, it is not always the best choice. If the phone has additional internal damage or if you are unsure about the process, seeking professional help is safer. Complex devices with advanced features may require specialized equipment that is not easily available at home.
Conclusion
DIY phone screen replacement can be a practical and rewarding solution for fixing a damaged display. With the right tools, careful handling, and proper understanding, it is possible to restore your phone successfully. However, patience and attention to detail are key. By following the correct steps and avoiding common mistakes, you can achieve a clean and functional repair while saving both time and money.


